The only no-fail bread recipe you will ever need! The recipe is suitable for a breadmaker, Thermomix, or hand kneading. With my extra tips and tricks, you will have perfect bread every time!

I love making all types of dough almost as much as I enjoy eating homemade baked products. There’s a bit of science behind bread making. With a little bit of understanding, I will have you baking perfect bread every time!
Oh, and if you are looking for another great breakfast idea, why not try my delicious Thermomix pancakes they are super easy to make.
So, before I share my recipe and bread-making techniques I would like to take you back to your high school home science class and talk about the ingredients used in bread and their purpose.
Basic Ingredients in a Bread Recipe
Bakers Flour
Flour is created to perform different baking tasks. Bakers flour is a strong plain flour or strong all-purpose flour (US readers) The term “strong” means that it has been milled to contain a high amount of protein and gluten which helps give heavy baked goods structure. This flour is ideal for making bread.
For the best results, you should not substitute plain flour for bakers flour. Self-raising flour is also not suitable.
Warm Water or Warm Milk
Warm water is used in bread making as temperatures around 35 degrees (95 Fahrenheit) is favourable for “waking up” the yeast. It also aids in dissolving the sugar for the yeast. Water is also used to bind the ingredients in most bread recipes. One of the exceptions is brioche. Brioche dough uses warm milk which yields richer bread.
Yeast
Bread is only able to rise with the help of yeast. Yeast is a living organism which metabolises the sugars in the dough and releases carbon dioxide in the process. This fermentation process creates carbon dioxide bubbles in the bread which rise. As the carbon dioxide aerates the dough and causes it to rise.
There are three main types of yeast used in bread recipes;
- Active Dry Yeast – or Dry Yeast. This is the most common yeast used for home breadmaking. Most recipes will use this form of yeast. This is the yeast I use in my recipes.
- Instant Yeast – In some US recipes and breadmakers suggest this type of yeast as it doesn’t require two proofs. This product is not readily available in Australia and I don’t use it in my recipes.
- Fresh Yeast – Also known as compressed yeast. This is sold in compressed blocks and is used more often in commercially prepared bread. Compressed yeast is highly perishable and needs to be stored in the fridge or freezer.
Read more about how to properly proof dough and tricks for proofing in colder weather.
Sugar
A small amount of sugar is added to the warm water with the yeast, as an immediate food source for the yeast. It is usual to give this process a few minutes to occur before adding other ingredients. This allows the yeast to come out of dormancy and get to work metabolising the sugar and then flour, thus producing carbon dioxide for the bread aeration.
Salt
I bet you thought the salt in bread recipes was just for flavour, whilst flavour is part of the deal, salt also plays another role. Salt strengthens the structure of the gluten in the flour and makes the dough stronger so the carbon dioxide doesn’t just escape the loaf leaving the bread flat. It also slows the fermentation process. Salt should always be added last to the dough so the yeast is already activated. Salt can kill the yeast.
Oil, Butter & Egg
Different types of dough will vary in the type of fat used in the recipe. Brioche will use butter and egg, but most bread and pizza dough use oil. The fat in bread is used to coat the proteins and gluten which helps to prevent the molecules from absorbing too much liquid and swelling. Without fat, the bread will be tough and the crumb of the bread will be affected making it difficult to slice. The fat also allows the bread to be handled easier which is important for kneading.
Bread Improver
What is a bread improver??
It’s a blend of ingredients which helps activate the gluten and improves the yeast fermentation process and the overall taste of the bread. In my opinion, the bread improver does make a lighter softer loaf, however, the bread will work just fine without this ingredient. Bread improver is a natural product without artificial colours, numbers etc. The main ingredients are usually soy flour and ascorbic acid.
What can you substitute for a DIY bread improver?
Bread improver is an unflavoured acidic substance. I have substituted vinegar for bread improver. The bread had a mild sourdough flavour and did seem to have a fluffy texture. Most of the time I don’t use a bread improver but I will add it to the basic recipe because it does produce the best slicing loaf.
So now you have a good understanding of the ingredients used in making bread or dough and their purpose.
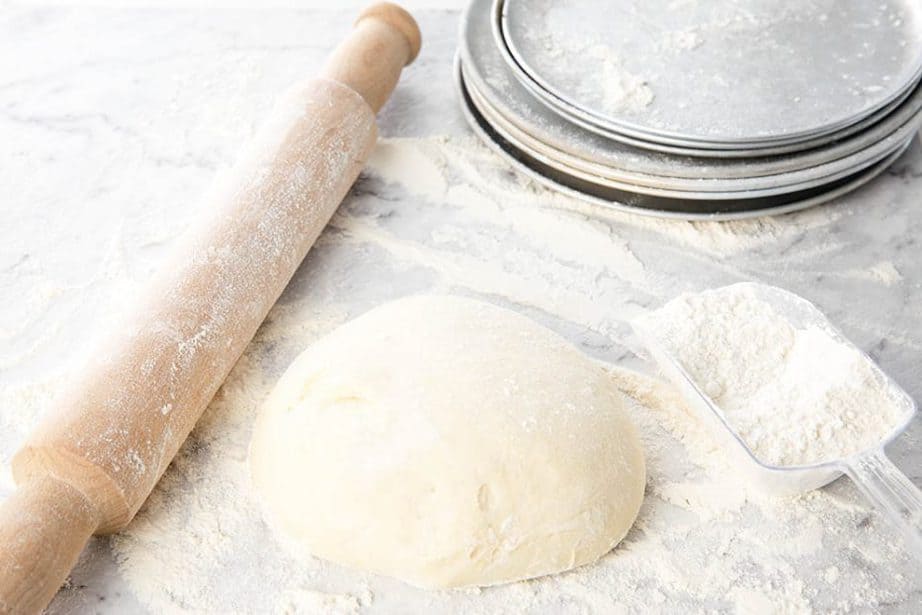
Steps to Perfect Bread
Priming the Yeast
Add warm water and sugar to the yeast and allow it a few minutes to froth. This is also a good way of testing yeast if you’re concerned that it may not be active. If the mixture becomes frothy it is viable. Tips for priming the yeast in cold weather.
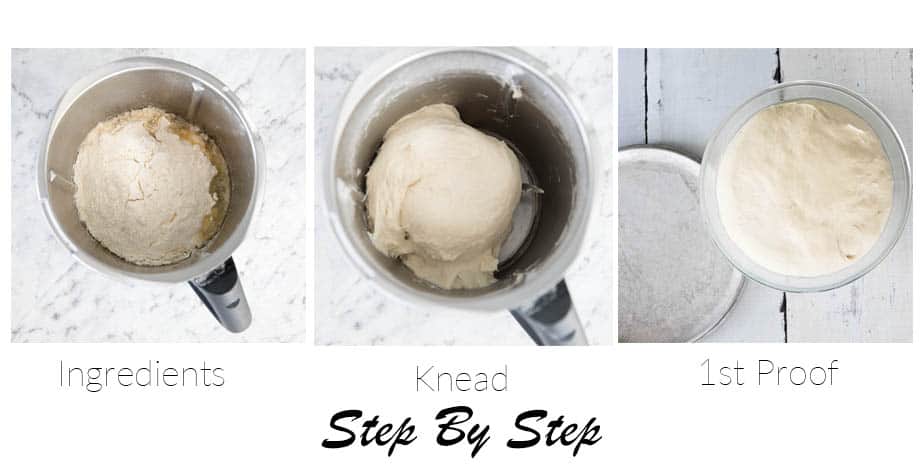
Combining the ingredients
Add the flour, oil, and salt to the primed yeast mixture and combine the ingredients.
Kneading the Dough
This process activates the gluten and gives the bread strength. The length of time necessary to knead will depend on your method. Regardless of whether you are kneading by hand, in a breadmaker, or Thermomix the important thing is the texture of the dough. When the dough has been properly kneaded it will have a glossy appearance and lose its stickiness. You will also notice more elasticity in the dough.
Knocking down the Dough
Once the dough has been proofed, rework it for a minute. This step allows the irregular carbon dioxide bubbles to be dispersed and more even-sized bubbles will now form. The yeast which has multiplied will be redistributed through the dough and come in contact with a new area of food and more even fermentation will occur creating more uninformed aeration and rise.
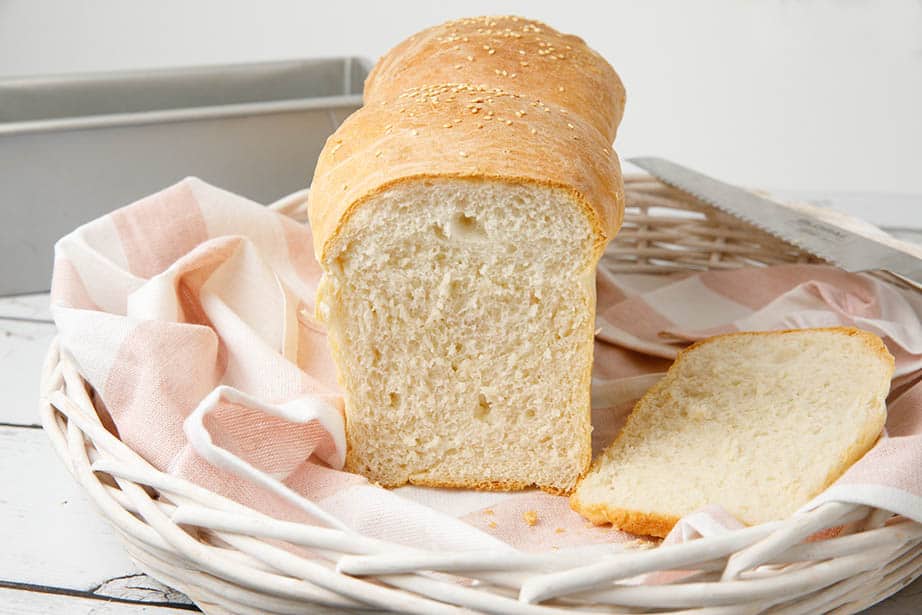
Shaping the Bread
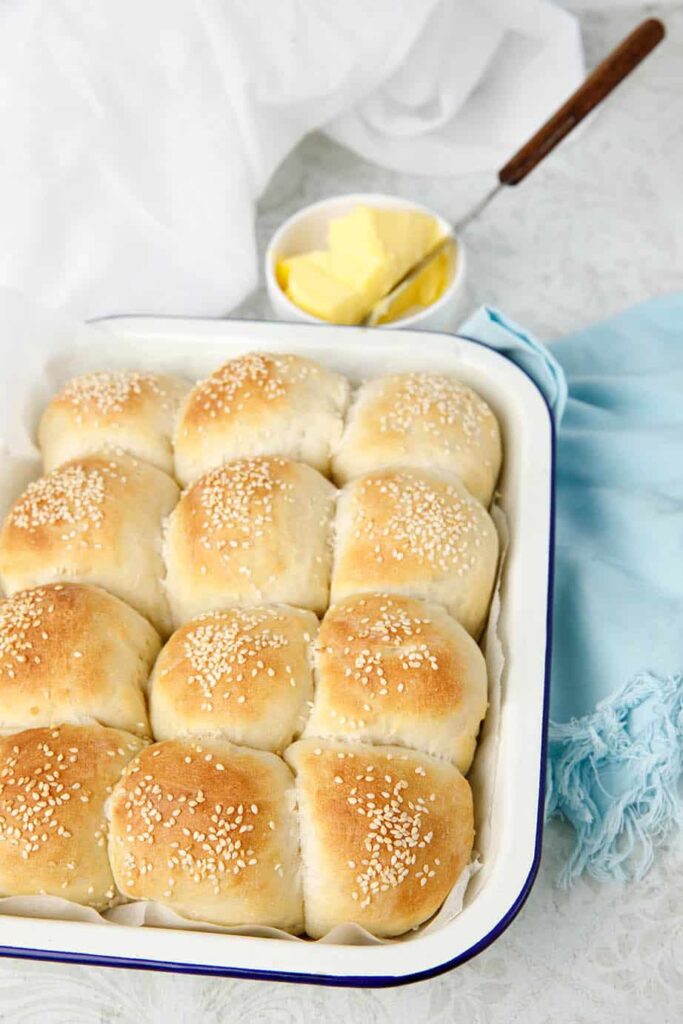
Now it’s time to decide the shape you would like your dough to take. You can choose from a free-form loaf of bread, rolls, sandwich loaf, plate, pizza, or focaccia. Go ahead and shape the bread accordingly and place the bread into the baking tin or tray.
Second Proof
Once again, place the dough tray or tin in a warm place and cover it. Allow the dough to rise again. This proof is important because if you were to bake the bread without the second proof it would fail to rise in the oven. The golden rule of the second proof is don’t bake the bread until it has reached the size you would like the finished product to be. If the bread isn’t reaching that goal size, check out my tips for proofing on a cold day. (This is a good time to turn on your oven)
Baking the Bread
Bake the bread at between 180-210 degrees Celsius or 350 – 400 Fahrenheit, unless instructed otherwise by the recipe. It will usually take between 30 -45 minutes to bake depending on the size and shape of the loaf.
Bread Recipe Tips
The most important step in the bread-making process is proofing the dough. This can be an area of concern for some people, so I’ve explained dough proofing in this story. The article gives seven of my most valuable tips and tricks. These tips include how to get the proof dough in winter.
Making bread may sound complicated but it’s so super easy! Especially now that you know the ingredients and the process. The ingredients and the method stay exactly the same regardless of whether you make the dough by hand, in the Thermomix or in a breadmaker. The only difference in each of these methods is the time, energy and efficiency involved.
Using a Bread Maker
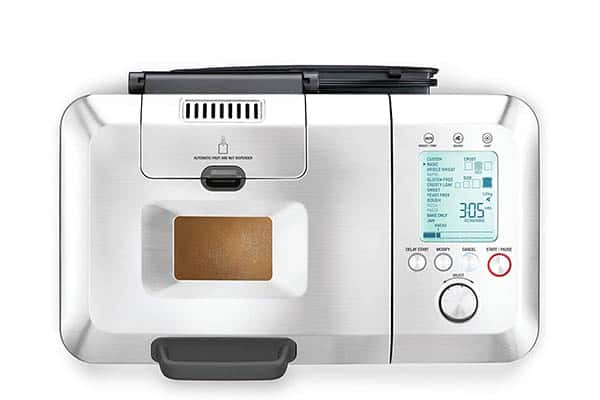
Our Breville breadmaker was my husband’s favourite appliance before we bought the Thermomix. Its sole purpose in life was to bake beautiful bread and it did that perfectly. All breadmakers work in basically the same manner. You can use any bread recipe in a breadmaker.
- Add the ingredients to the bowl per the recipe supplied.
- Choose the loaf size, bread type, and crust.
- Set and forget.
- Upon return to the machine, you will have beautiful fresh bread.
The machine will cycle through the process of combining the ingredients, kneading the dough, and then knocking down the dough. Once this process is complete it will move on to the second proofing before baking in the breadmaker.
Pro’s
- Perfect bread every time! The breadmaker will always result in a perfect loaf of bread.
- Labour saving!!
- Fresh bread with no additives made from scratch
- Bakes in the machine
- No need to be awake or at home (look for a model with a timer)
- Not as expensive as a Thermomix
Con’s
- Single purpose machine suitable only for dough making, jam making & pasta making.
- Takes up space in the kitchen
- A full cycle takes about 3 hours
I’ve had a Breville Breadmaker so this is the only one I am happy to recommend. Check the Breville Breadmaker price.
Thermomix Bread Making
I love making bread in the Thermomix. This is the quickest method I have found and the results are just as good as bread from my Breville breadmaker.
Pro’s
- This will result in a perfect loaf of bread every time, although some cooking skills are required. If you follow the recipe and my tips you will have perfect bread.
- Labour saving!!
- Fresh bread with no additives made from scratch
- From start to finish is quicker than the breadmaker, at approximately 2 hours including proofing time and baking.
- Most of the recipe time is not hands-on time.
- The Thermomix has many functions other than breadmaking, so it’s a more versatile machine.
Con’s
- An expensive machine.
- Takes up space in the kitchen although less than a bread machine.
- More active human cooking is required.
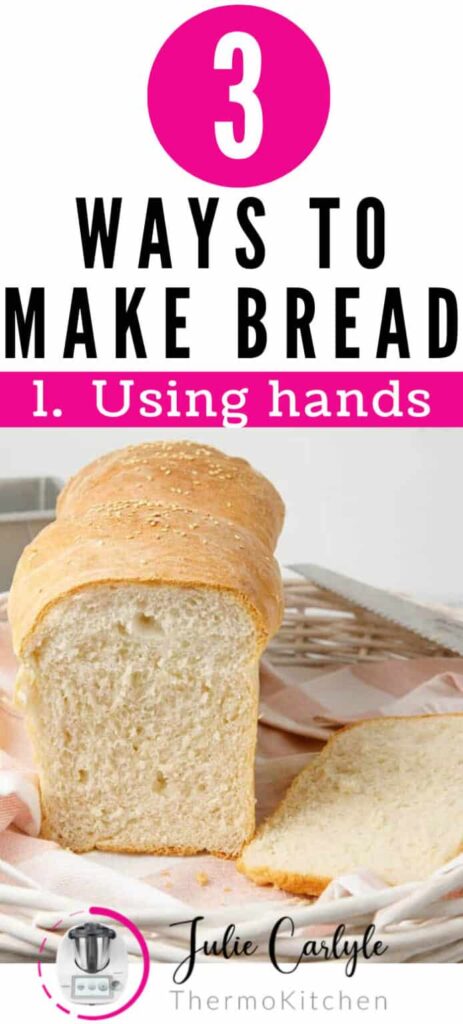
Handmade Bread Making
Whilst I enjoy cooking, breadmaking by hand would have to be a labour of love. To properly knead the dough is a very energetic and labour-intensive process and not something you would want to do each day.
If this is the method you’re using to make your bread please see the recipe below and follow the 8 steps to perfect breadmaking above.
Pro’s
- No fancy machinery is required.
- Fresh bread with no additives made from scratch
Con’s
- Labour intensive and tough on the arms
- Will take at least 3-4 hours to properly knead the dough twice, proof twice, and bake the bread.
- More difficulty in achieving satisfactory results takes a higher level of skill and understanding.
Jumbo Loaf Tin
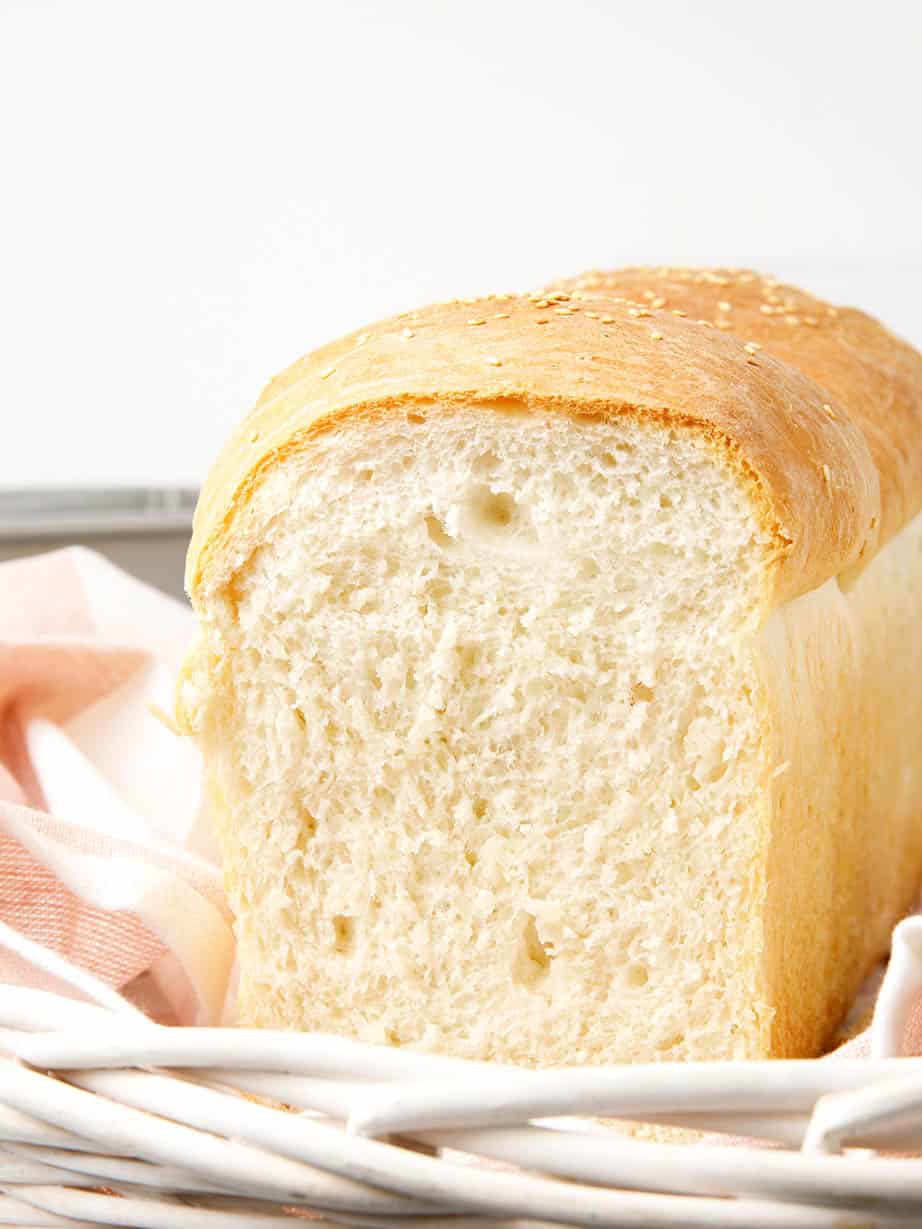
This recipe makes a commercial-size loaf of bread so you will need a Jumbo loaf Tin. The approximate weight of the finished loaf is 900g or 2 lbs. To ensure the bread doesn’t stick make sure your tin is non-stick and heavy metal, high-quality tin.
I cooked this loaf using the Vogue 2lb Non-Stick Loaf Tin. The tin is available from the Mixshop.
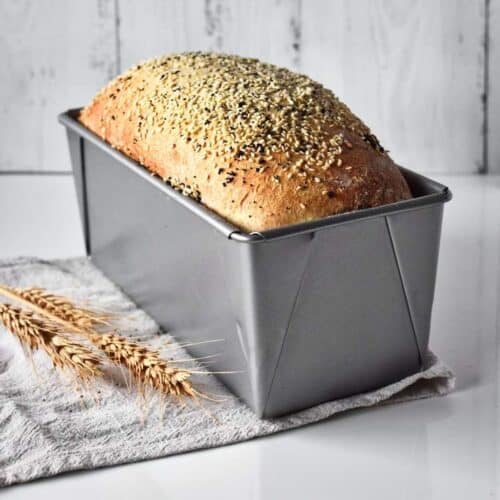
Bread Tin with Lid
My bread dough recipes are designed to be used with this bread tin and will fit perfectly.
The tin is available from the Mixshop and is high quality and durable. It includes a sliding lid which also allows you to make the perfect, firm, and crusty square loaf.
Baking without the lid will yield a high-top loaf.
To purchase your own tin follow the MixShop link!
Product Features
- Dimensions 78(h) x 250(w) x 100(d)mm.
- Material Carbon Steel
- Weight 300g
- High-quality layered non-stick coating
- Incredibly robust
- Ensures even heat distribution
- Easy to clean
Let’s Get Cooking
Are you ready to take your ingredients and your preferred method and bake some bread??
Let’s Connect!
I share loads of great recipes on the website, but those who find out first are my special newsletter friends. You can even choose your favourite topics!
I also have a lively social community. Take a look at the Facebook Group page. It is a fabulous place to ask questions, join the chatter, and share images of recipes you have made! It helps inspire others to cook new and interesting dishes.
If you want more Magimix, Optimum or Thermomix recipe ideas or information, please follow the ThermoKitchen FB Page. I post everything I know here first!
GET INSPIRED;
FACEBOOK
TWITTER INSTAGRAM PINTEREST YOUTUBE
Other Dough Recipes
We make a lot of dough in our household. If doughs hold a special place in your heart. Take a look at these recipes. The recipes for pizza dough, Buffalo Pizza and Turkish Pide are very similar I would love you to try them both, and let me know what you think.
There are so many recipes that are based on knowing the principles of making a good basic dough. Once you have mastered the basic dough try brioche dough and Easter Buns. Or if savoury is more your style I have a Star Garlic Bread that makes a fabulous centerpiece for a special occasion.
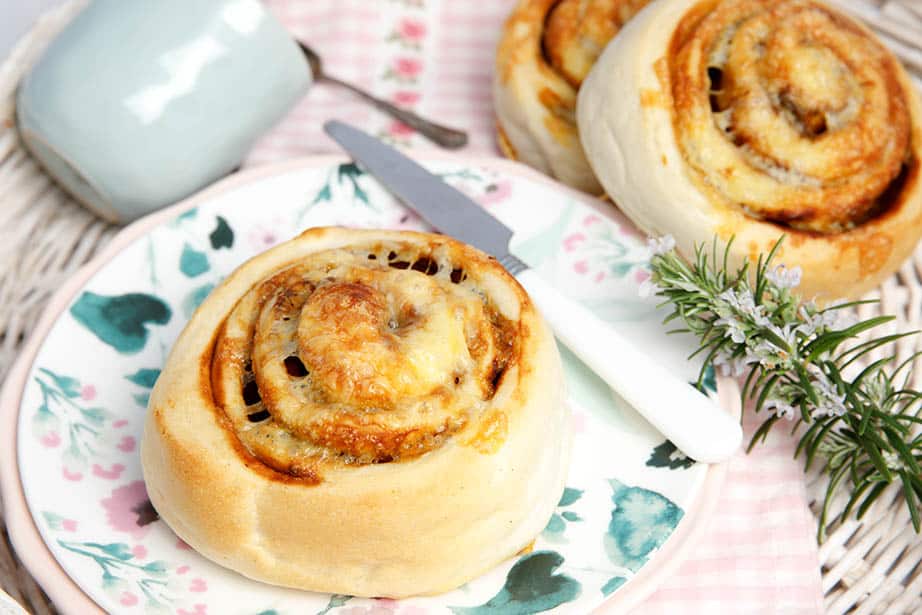
The kids will also love these Cheesymite Scrolls in their school lunch box. You can mix it up and add salami and pizza sauce for a pizza scroll.

Basic Bread Recipe
Course: All Recipes, BreadCuisine: American, Australian4
servings2
minutes30
minutes154
kcal1
hour1
Thermomix , Bread Tin32
minutesThe only bread recipe you will ever need! The recipe is suitable for a breadmaker, Thermomix or hand kneading. My tips & tricks make perfect bread every time!
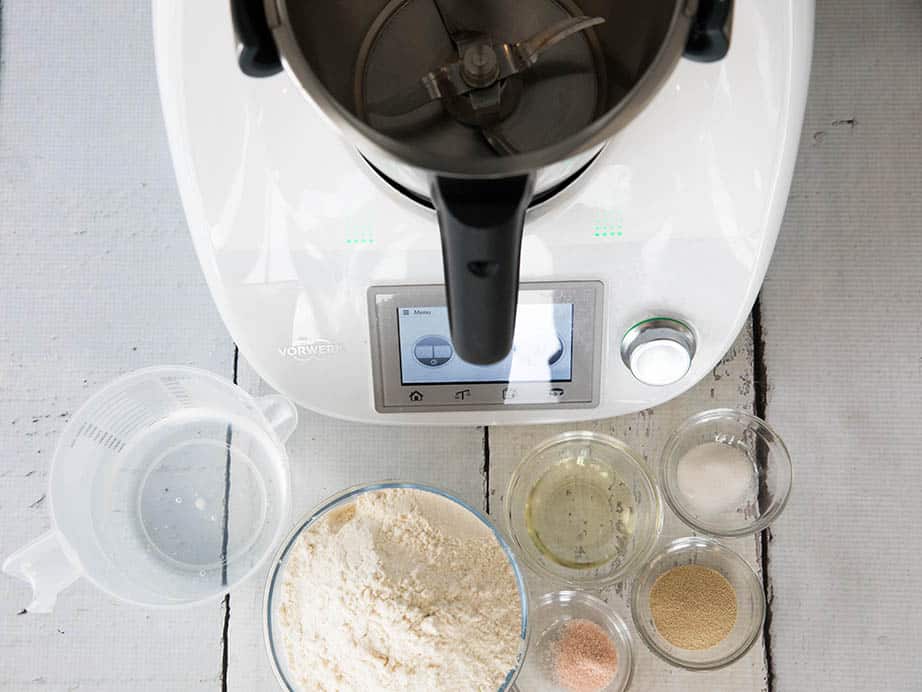
Ingredients
310 g warm water
5 g sugar
10 g dried yeast
530 g bakers flour
20 g oil
5 g salt
5 g bread improver optional
Directions
- Place 310 g warm water, 5 g sugar, and 10 g dried yeast in the TM bowl. Combine 2min/37degree/Speed 1.
- Add 530 g bakers flour, 20 g oil, 5 g salt, and 5 g bread improver to the water. Knead 2 min.
- Remove the bread from the TM and add to an oiled bowl. Cover the bowl with a tea towel and leave in a warm place to proof.
- Once the dough has doubled in size. turn the dough out onto an oiled bench.
- Knead the dough by hand and then shape into a loaf.
- Place the dough into a loaf tin, cover with a tea towel and allow it to proof in a warm spot.
- Preheat the oven to 180 degrees Celsius.
- Once the dough has completely risen to the desired height place the tin in the oven.
- Bake for 30 -45 minutes or until the bread sounds hollow to tap.
Notes
- It important that the dough isn’t baked until the bread has reached the full finished size. The bread will not rise any further in the oven.
Log in: Then add your own recipe notes below!
I hope you have enjoyed this story. Feel free to leave a comment or start a discussion. If you have made a dish from this site, I would love to know what you thought!
Leaving a comment and a star rating helps others decide if they should try my recipe. Plus, if you hit the social media share buttons, your friends may find a delicious new recipe or Thermomix Tip too!
If you want to be notified when a new recipe is released, sign up for my monthly newsletter. The form is also in the footer!
Thank you for stopping by,
Happy Cooking